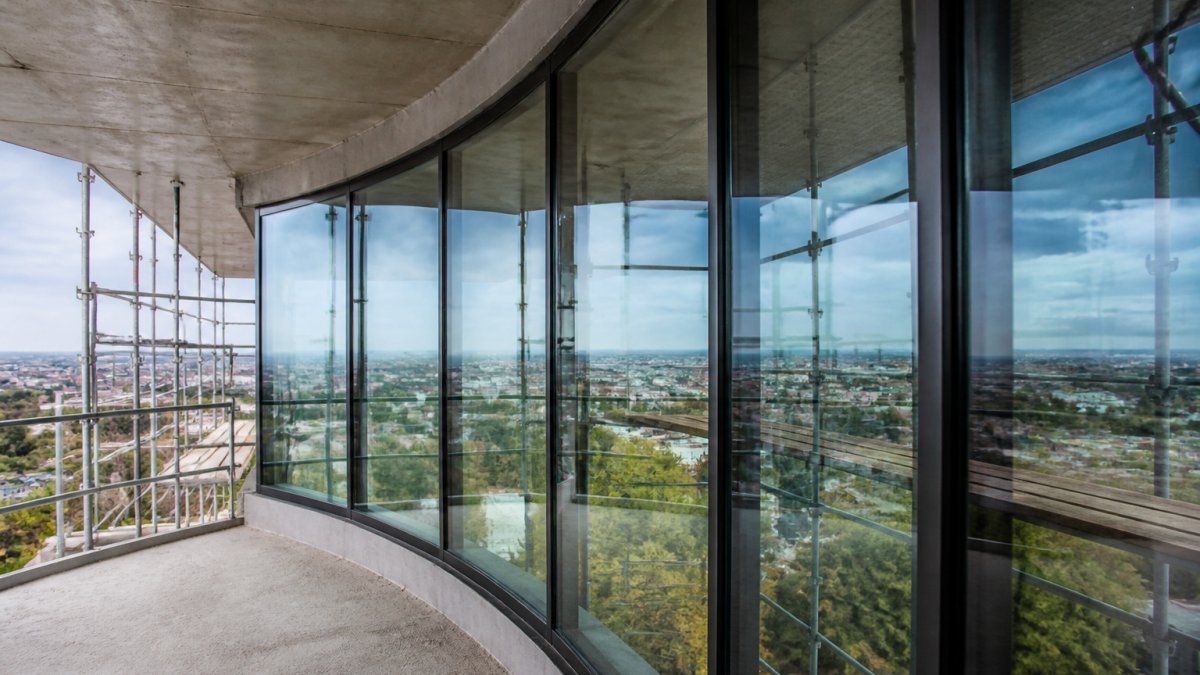
 how-to
How to Detail Curved Window Systems: 7 Steps
Quick Summary
To detail curved window systems, first gather the design drawings, structural drawings, performance requirements, glazing specification, finish schedule and site constraints. Then establish the radius, chord and sweep geometry, choose a frame system that bends predictably, specify the curved glass, and produce a complete shop drawing package with fabrication tolerances.
- Confirm current drawings and settle who owns the curve before detailing begins.
- Use radius, chord width and arc length to define curved window geometry, checked against the design drawing.
- Curved glass must be formed before cutting, by cold or hot bending, and its curvature tolerance checked against the frame.
- Shop drawings for curved systems need six sheet types: plan, head, sill, jamb, mullion and curved-to-straight junction.
- Water control on a curve is a continuous sequence of laps, fall, weep holes and movement joints, each dimensioned.
Table of Contents
- Gathering the Information You Need Before Detailing a Curved Window
- Establishing Curved Window Radius and Geometry
- Choosing Profiles and Adapting Standard Frame Systems
- Specifying Curved Glass Specifications and Glazing Details
- Producing Curved Window Shop Drawings Step by Step
- Setting Curved Window Fabrication Tolerances and Field Verification
- Coordinating Waterproofing, Drainage and Facade Interfaces
- Request Your Curved Window Detailing Package from BluePrint Facade
- Frequently Asked Questions
Gathering the Information You Need Before Detailing a Curved Window
Last Updated: November 1, 2026
Detailing a curved window system goes wrong long before anyone opens a drawing file, and the same is true of any project involving curved window systems.
Curved window systems are bespoke.
Gather these inputs before detailing begins:
- Architectural design drawings: plan, elevation and section showing the curve in context
- Structural drawings: slab edges, floor-to-floor heights and any structural curves or supports
- Performance requirements: thermal, acoustic, wind load and water penetration targets
Watch out: Confirm which drawings are current.
Ask the design team who owns the curve.
Once these inputs are in hand, you can set the geometry, which is where the real detailing begins.
Establishing Curved Window Radius and Geometry
The geometry of a curved window decides almost everything that follows.
Three measurements describe most curved window geometry:
- Radius: the distance from the centre point of the curve to the glass face
- Chord width: the straight-line distance between the two ends of the curve
- Arc length: the distance measured along the curve itself
The sweep is the angle the curve covers and links the three. Once you know any two of radius, chord and sweep, you can calculate the third.
When you establish the centre-point radius, confirm whether the dimension is taken to the inside or outside face of the glass. A few millimetres of difference compounds across a long curve.
Choosing Profiles and Adapting Standard Frame Systems
Curved windows are rarely built from purpose-made profiles alone. Curved windows are often built by bending or adapting a standard aluminium system, and the choice of starting system decides how much work the curve will need.
Systems with a narrower sightline and shallower frame bend more predictably. Deep, heavy sections resist bending and often need laser-cut relief, adding cost and lead time.
Your profile decisions should cover:
- Frame depth and sightline: how the frame reads on the curve
- Bending method: whether the extrusion bends cold, is segmented, or needs laser-cut profiles
- Mitre and joint strategy: how segments meet at corners and transitions
- Seal location: where gaskets and glazing beads sit along the curve
Document any compromises, because the installer needs to know where the frame differs from the catalogue detail.
Specifying Curved Glass Specifications and Glazing Details
Curved glass is the element most likely to limit what the design can achieve.
The glass specification should state:
- Glass type: toughened, laminated, or a combination
- Thickness: for both the outer and inner lites of an insulating unit
- Coatings: low-emissivity or solar control, and which face they sit on
Specify the insulating glass unit as a whole. The spacer, sealant and gas fill affect long-term thermal performance, and a curved unit must be sealed as carefully as a flat one.
Watch out: Curved glass is generally supplied with a tolerance on its curvature. Confirm that tolerance against the frame design before fabrication starts, because a glass unit that sits outside the frame's acceptable range cannot be fitted without rework.
Producing Curved Window Shop Drawings Step by Step
Shop drawings turn design intent into instructions a fabricator can build from. If you need fabrication and setout drawings prepared for you, see our facade and window shop drawing services. For a curved system they carry more information than a standard elevation, and each drawing must show the curve clearly.
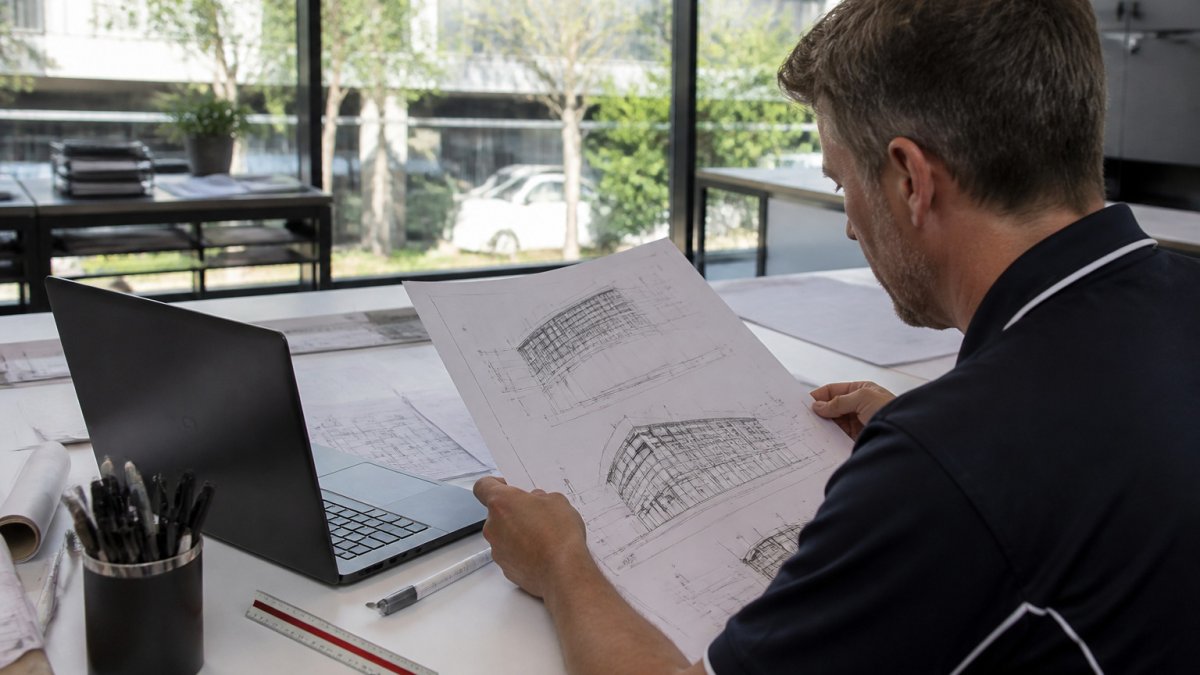
A practical sequence for the drawing package:
- Set the plan geometry: draw the curve at true radius and confirm the chord and arc. Dimension from a single, clearly marked reference point (usually the centre of the radius or a nominated grid intersection) and show the chord, arc length and sweep angle on the plan.
- Draw the elevation: show head, sill and jamb conditions around the curve, with the true shape of the curve developed where the elevation is not a simple projection.
- Detail the profiles: section each profile type with its bending and mitre notes, including the segment lengths and joint positions for segmented curves.
- Show the glazing: section through the insulating unit and its glazing beads, with the glass make-up, spacer type and face of coating called out.
- Annotate the connections: fixing points, anchors and interfaces with the structure, with the anchor type, embedment and edge distance noted.
- Add the schedule: list every unit with its reference, dimensions, glass type and finish.
- Check and issue: cross-check dimensions against the design drawings before release.
What each sheet in the set must show
A curved window package typically needs six drawing types. Treat this as a checklist for the set, not a menu:
- Plan detail: the curve at true radius, with the chord, arc and sweep dimensioned, and the relationship to the structural grid shown.
- Section through head: the curve in section, the head flashing, the deflection gap and the sealant joint to the structure.
- Section through sill: the sloped sill, the drainage path, the sub-sill and the continuity of the water-control layer.
Each detail should carry dimensions, a scale, a reference number and a callout to the relevant specification clause. Our facade engineering services cover compliance and thermal analysis for curved glazing.
Dimensioning and annotation conventions
Most drawing errors happen at step 1 and step 7. Dimension the curve from a single reference point and check every unit's overall size against its opening. A common pattern is to dimension the chord and rise (the maximum offset from chord to curve) rather than the radius alone, because these are easier to verify on site with a string line and tape.
Annotate the curve with:
- the radius and whether it is taken to the inside or outside face of the glass;
- the chord width and arc length;
- the sweep angle in degrees;
Drawing register, revision control and issue
A concise title block with a clear revision history helps the whole team work from the same version. Keeping a drawing register listing each sheet, its revision and issue date also helps show which sheet the fabricator built from.
Issuing the package with a transmittal stating the purpose of issue and the drawings it supersedes is good practice. A curved unit built from a superseded sheet is one of the most expensive errors in the package, because the glass cannot be re-bent on site.
Coordinating the shop drawing with the glass order
The glass schedule should match the order line for line: unit reference, make-up, thickness, coating and face, edge treatment and curvature tolerance. If they diverge, the glass arrives to a different geometry than the frame was built to, and the curve shows the mismatch first.
The six drawing types a curved window package typically needs, as set out in the article:
| Drawing | What it shows |
|---|---|
| Plan detail | Curve at true radius, chord, arc and sweep dimensioned |
| Section through head | Curve, head flashing, deflection gap and sealant joint |
| Section through sill | Sloped sill, drainage path, sub-sill and water-control layer |
| Section through jamb | Jamb profile, seal to wall or column, fixing positions |
| Mullion and transom details | Curved mullion section and glazing bead and gasket locations |
| Curved-to-straight junction | Transition, movement joint and sealant strategy |
Setting Curved Window Fabrication Tolerances and Field Verification
Tolerances are where a curved window package either works on site or does not. A curve is harder to set than a flat wall, so the allowable deviation needs to be stated, not assumed.
Set tolerances for:
- Overall unit size: width, height and the chord dimension
- Curvature: how far the formed profile may deviate from the true radius
- Opening size: the site dimension the unit must fit within the stated tolerance
Field verification helps close the loop. Before ordering units, measuring the actual openings on site and comparing them with the drawings is a sound step.
Recording the field measurements and feeding them back into the shop drawings helps prevent costly site problems.
Coordinating Waterproofing, Drainage and Facade Interfaces
Water is the hardest part of a curved window to detail. A flat sill sheds water predictably; a curve can trap water in pockets, push it sideways, or carry it into joints never designed to take it. The useful angle is the mechanism: how water is kept out, how it leaves, and how the water-control layer stays continuous across the curve.
The water-control layer must be continuous
The principle is the same as for a flat facade: keep the water-control layer continuous from the wall, through the window, and back to the wall. On a curve, continuity is harder because the layer changes plane in two directions. Detail it as a sequence, not a set of separate seals:
- Wall weatherproofing laps over the window flashing.
- Window head flashing sits behind the wall weatherproofing and over the window frame.
- Frame drainage collects water that passes the outer seal and takes it to the sill.
- Sill flashing laps over the wall weatherproofing below and discharges clear of the facade.
Each lap should be at least 75 mm, shown on the detail with the lap dimension called out. A lap without a dimension is an assumption.
Sill drainage and weep holes on a curve
A curved sill needs a slope and a clear path for water to leave the frame. Detail the sill with a fall of at least 5 degrees to the outer face, or a drained and ventilated cavity behind the outer seal, so water cannot sit against the gasket.
Weep holes and pressure equalisation must be placed so they work on a curved profile:
- Weep holes at the low points of the curve and at intervals along the sill, with the spacing set by the frame manufacturer's system and confirmed against the drainage calculation.
- Pressure-equalisation slots in the outer zone so the cavity behind the outer seal stays at near-ambient pressure, which reduces the driving force for water to cross the seal.
- Baffles over the weep holes to stop wind-driven rain from entering while allowing water to drain.
On a curve, the low point is not always obvious. Mark low points on the shop drawing and confirm weep positions against as-built geometry, because a curve slightly out of tolerance can move the low point.
Flashing at curved transitions
Where the head, sill and jambs meet the wall, the flashing must follow the curve. A straight flashing cannot follow a curve without being cut and lapped, so detail the flashing as a series of short straight sections with lapped and sealed joints, or as a purpose-formed curved flashing.
At the curved-to-straight junction, the movement joint is critical. The curved and flat systems move differently under wind and thermal load, so the joint needs a sealant designed for the expected movement.
Sealant joints and movement
Sealant joints on a curved facade fail for two reasons: the joint is too narrow for the movement, or the sealant is bonded on three sides. Detail each joint with:
- the joint width and depth;
- the expected movement (from the structural and thermal analysis);
- the sealant movement class;
A common pattern is a joint width of at least 6 mm and a width-to-depth ratio of about 2:1, but confirm the actual values against the sealant manufacturer's data and the project movement analysis. Do not rely on a rule of thumb for a curved joint that moves in two directions.
Responsibility at interfaces
Coordinate these details with the facade engineer and waterproofing consultant, and confirm which party is responsible for each seal, because gaps at interfaces are where water and movement problems start.
Water penetration and wind load performance requirements for a building's location should be confirmed with the certifier and the facade engineer for your project. The detailing above is how the design meets those requirements; the verification is how you prove it.
Request Your Curved Window Detailing Package from BluePrint Facade
A curved window needs careful detailing from first sketch to final shop drawing.
BluePrint Facade produces facade and glazing shop drawings for complex window walls and curved systems.
To discuss your project and request a detailing package, use the submit button on our website. Pricing depends on the size and complexity of the project, so please request a quote through our website.
Frequently Asked Questions
How do you detail a curved window system?
Detailing a curved window system starts with confirming the plan geometry, radius and sweep from the architectural drawings, then defining the frame profile, glass build-up and anchor points. Next, elevation and plan shop drawings can show mitres, seals, drainage paths and fixing to structure. A tolerance schedule and a check against the chosen system's technical manual should come before issuing for fabrication. Each stage should be signed off before moving to the next.
Can standard window profiles be used for curved glazing?
Some standard extrusions can be bent or laser-cut to follow a curve, but only within the limits set by the system manufacturer. Tight radii usually need custom or specially prepared profiles, and the bending method affects wall thickness and glazing capacity. Confirm the minimum radius, bending process and available finishes with the supplier before finalising the design, because a profile that works on a flat elevation may not seal correctly once curved.
What should be included in curved window shop drawings?
Curved window shop drawings should show the plan curve with centre point and radius, the chord width and arc length, and the elevation of each panel. They should also detail the frame profile, mitre and joint locations, glass type and thickness, seal and gasket paths, drainage and weep details, anchor positions and tolerance allowances. Clear dimensions in millimetres, consistent reference lines and a legend of profiles and materials help the fabricator and site team avoid misreads.
What are the main curved window fabrication tolerances to plan for?
Fabrication tolerances for curved windows depend on the bending or cutting process, the glass supplier and the system tolerances published by the manufacturer. Allow for variation in radius, curve length and frame straightness, and specify how site-measured dimensions will be checked against the shop drawings before glass is ordered. Agreeing these tolerances early reduces rework, and a field verification step before fabrication is often the cheapest way to avoid costly remakes.